How to Log In to Your Website and Post an Article: Best Content Creation Made Easy!
In this article, I am going to show you step-by-step how to log in to your website. As Digital Ninjas Cloud, we work with startups, community-based organizations (CBOs), and individuals who may have less technical skill in managing a website. As an added value, we usually do it for them. In case you need help, please write a short draft of the post and share all the necessary pictures to be posted, then share with us. We will do that for you.
If you’re new to managing a website, publishing your first blog post might seem a bit daunting. Here’s a simple, step-by-step guide to help you get started with logging in to your website and publishing your blog article.
Step 1: How to Log In to Your Website Dashboard

If you just received your log in credentials to your website and you still do not know how to log in to your website, here is how:.
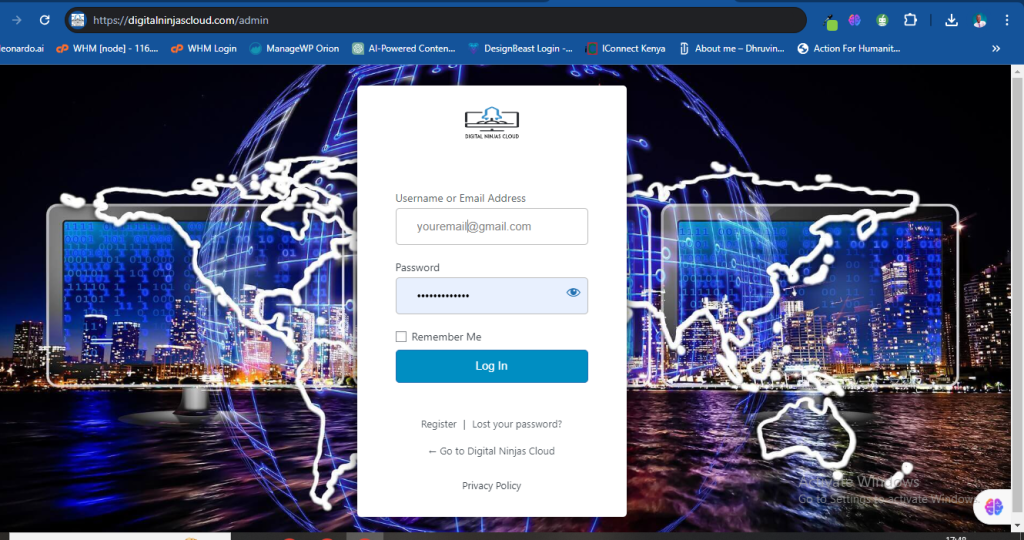
- Navigate to Your Login URL: Typically, the website login URL will be something like
http://yourdomain.com/admin. Replace “yourdomain.com” with your actual domain name. - Enter Your Username and Password: Once you’re on the login page, enter your username and password in the respective fields. These credentials would have been created when you or your administrator added you as an admin, editor, or author.
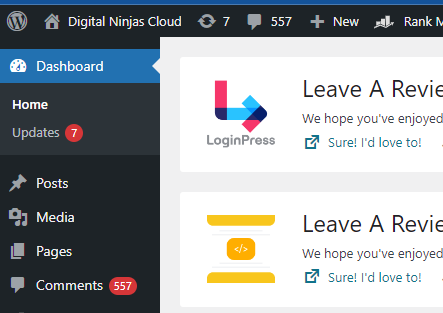
- Access the Dashboard: After logging in, you will be taken to the website dashboard. This is the control center for your website.
Step 2: How to Create a New Post

Up to here, I assume you now know how to log in to your website.
- Navigate to Posts: On the left-hand sidebar of your dashboard, you’ll see a menu item labeled “Posts.” Click on this, and then select “Add New” to start writing a new post.
- Add Your Title and Content: At the top of the page, you’ll see a field where you can enter the title of your post. Below that is the editor, where you can type the body of your post. You can use the formatting options (similar to what you’d find in a word processor) to style your text, add links, or insert media.
Step 3: Add Images and Media
- Add Media: To add images, videos, or other media files, click the “Add Media” button above the editor. You can choose to upload files from your computer or use existing files from the media library.
- Insert into Post: Once you’ve uploaded your file, you can add a title, a caption, and alt text. Then, click on “Insert into post” to add the media to your article.
Step 4: Categorize and Tag Your Post
- Choose Categories: On the right-hand side of the editor, you will find the “Categories” section. You can check one or more categories to classify your post. This helps readers find related content.
- Add Tags: Below the categories, there’s a section for tags. Tags are like keywords that describe the details of your post. They further help in organizing your content and improving SEO.
Step 5: Preview and Edit
- Preview Your Post: Before publishing, it’s a good idea to see how your post will look to readers. Click the “Preview” button to open a new tab showing your article.
- Make Necessary Edits: If you find anything that needs adjustment, close the preview tab and make your changes in the WordPress editor.
Step 6: Publish Your Post
- Publish: Once you’re satisfied with how your post looks and reads, click the “Publish” button. Your article is now live on your website for the world to see!
Step 7: Share Your Post
After publishing, consider sharing your post on social media or emailing it to your subscriber list to increase visibility.
That’s it! You’ve successfully learned how to log in to your website and post an article. With practice, these steps will become second nature, allowing you to focus more on creating great content for your readers.
Remember, sometimes this may not be easy for you because you are new to this technology, but we are here to help you. Reach out to us with a draft of your article and the pictures to go with it. We shall do everything for you as you focus on running other aspects of your business. Follow us at bestdigitalninjas.com for digital skills trainings, books, and more…
Was this article helpful?


